


Struggling to keep track of your App Store purchases and subscriptions? Don’t worry—with the right tools and a few simple steps to stay organized, managing your receipts doesn’t have to be a hassle.
The App Store is a big part of our daily lives, whether you’re downloading productivity apps, subscribing to streaming services, or making in-app purchases. With so many transactions, keeping track of your App Store receipts to manage your finances, track expenses, or even get refunds and returns is essential.
In this article, we’ll show you how to access, manage, and organize your App Store receipts so you can keep track of your digital purchases.
What are app store receipts?
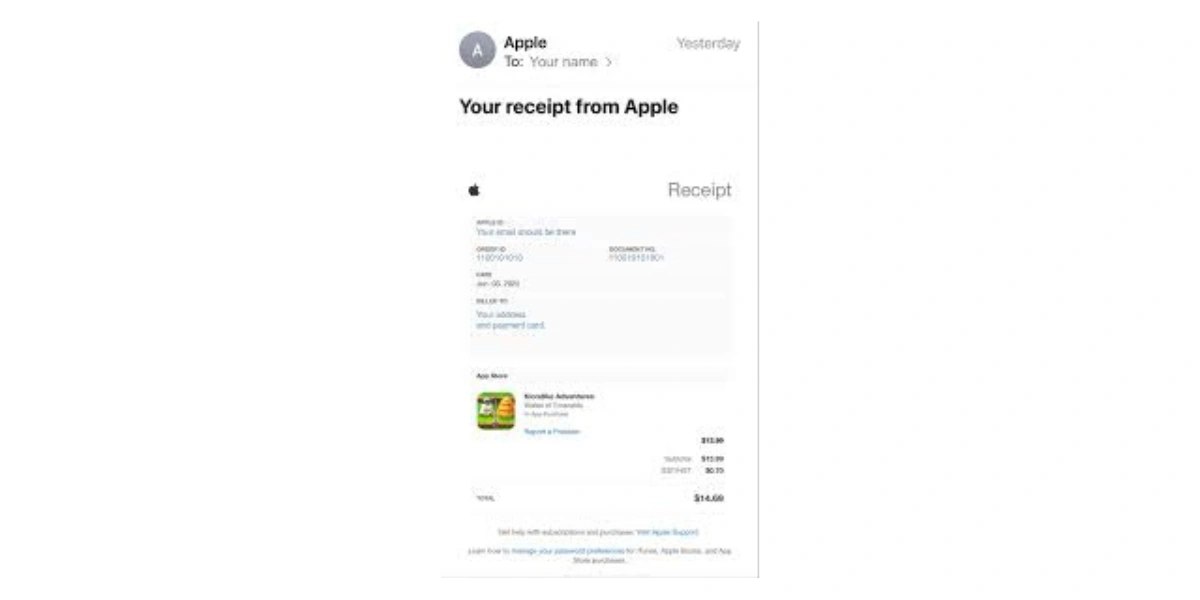
App Store receipts are digital records of transactions made through the App Store, including app purchases, in-app items, music, and other digital goods. They are proof of purchase and contain all the transaction details, including date, time, and amount.
Automatically generated and sent to the email address associated with your Apple ID, these receipts will give you a complete record of all your App Store purchases.
Receipt Details
An app store receipt has several vital components to help you keep track of your purchases:
Transaction ID: A unique identifier for the transaction, so each purchase is unique.
Date and time: The date and time of the purchase so you can track your spending over time.
Purchase amount: The total amount charged including any taxes.
Item description: A brief description of the item purchased, app, in-app content, or subscription.
Apple ID: The Apple ID used to purchase, so the transaction is linked to the correct account.
Order number: A unique identifier for the order that can help track and reference specific purchases.
What is your purchase history?
Your App Store purchase history is the key to managing and retrieving all your receipts. Whether you want to check a recent purchase, track a subscription, or identify unexpected charges, accessing your purchase history is the first step.
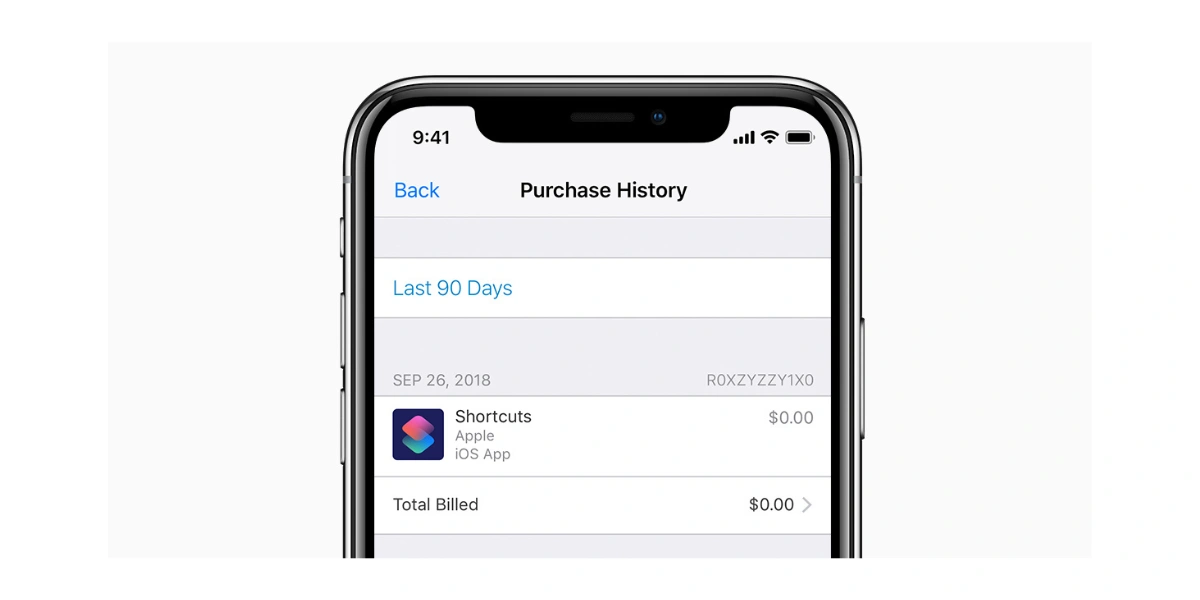
How to access your purchase history:
Sign in to your Apple ID: Open the App Store on your iPhone or iPad. Tap the sign-in button or your profile picture at the top right of the screen.
View purchase history: From the account menu, tap on Purchase History. For security purposes, you may be asked to sign in again. You can also view your purchase history for subscriptions and downloads in the Apple Music app.
Search for specific transactions: Once your purchase history is displayed, scroll through the list or use the search function to find particular purchases by date or amount.
Purchase history includes all transactions made with your Apple ID, including app purchases, in-app purchases, and subscriptions.
App store receipts on your devices
You can access receipts through your purchase history, retrieve them via email, or open them in a browser. This gives you flexibility to manage your digital receipts across devices so you can always keep track of your purchases.
Getting receipts:
From your email: Every time you purchase an app or service, Apple sends a confirmation email to your registered Apple ID. These emails contain the receipt for the app or service you purchased, usually within 2-3 days of the transaction.
Using a browser: You can access your purchase history from any browser, even Windows computers. Log in to your Apple ID account and go to Purchase History.
On iPhone or Mac: For convenience, you can view and download your receipts directly using the App Store on your Apple device.
By keeping these receipts organized, you can quickly check charges, manage subscriptions, or prepare for tax season if you use apps for business.
App store vs Apple store receipts
It’s important to note the difference between the App Store and the Apple Store. While the App Store sells digital products like apps for music and e-books, the Apple Store sells physical products like iPads, iPhones, and accessories. The receipt management process for Apple Store purchases is slightly different.
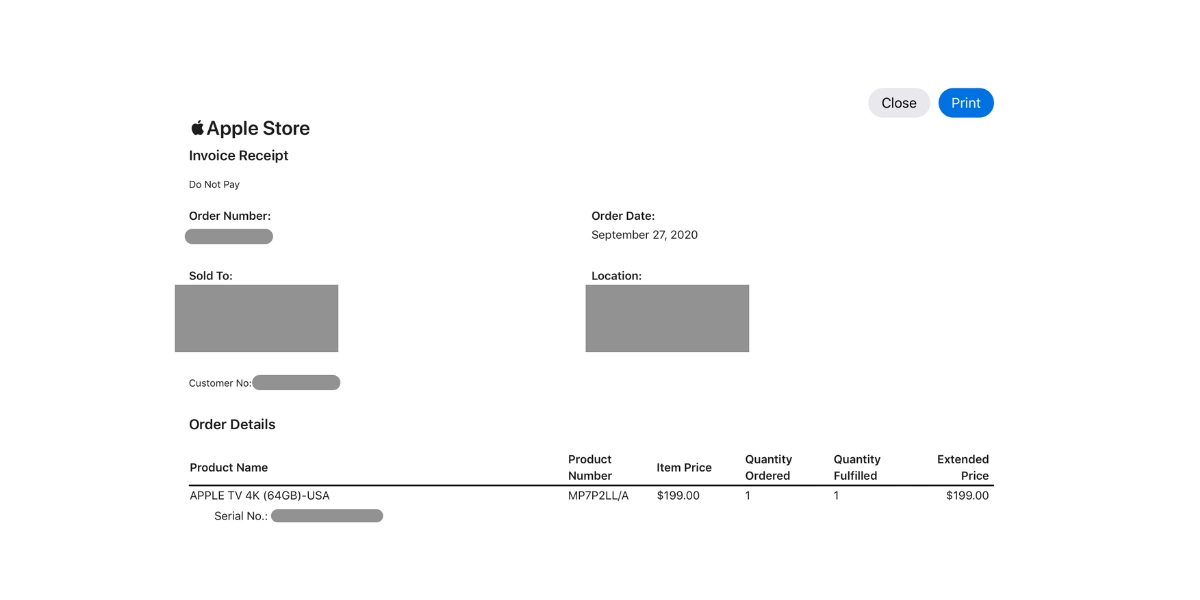
Apple store receipts:
Order listing page: Go to the Order Listing page via your browser to view your Apple Store orders.
Enter order number: Enter the order number for your Apple Store purchase.
Download receipt: You can download your receipt or invoice from the order page. These will include details on the physical goods purchased.
Quick access to these receipts is essential for product returns, warranty claims, or tax deductions for business purchases.
How do you gather and store receipts?
Gathering and storing App Store receipts can be made easier in a few ways:
Email receipts: Every time you purchase Apple, you will receive a confirmation email to the email address associated with your Apple ID. Search for “App Store receipt” in your email inbox to find these receipts. This is the quickest and easiest way to get your purchase details.
Purchase history: You can view your purchase history on your iPhone or iPad. Open the App Store app, tap your profile icon, and select “Purchased.” This will show you all your past purchases and allow you to view the receipt for each transaction.
Account settings: Another way to access your purchase history is through the Account Settings on your Apple device. Go to your account settings, and from there, you can view your purchase history and the receipt for each purchase. This will give you a complete view of all your transactions.
Third-party apps: For extra convenience, third-party apps like Shoeboxed can gather and store your App Store receipts. These apps can also collect receipts from iCloud and other email providers and store them in one place for easy access and management.
How can you simplify the management of these receipts?
I have found that automating these receipts significantly simplifies the warranty process, reimbursements, refunds, and tracking tax deductions. The best way to do this is with Shoeboxed.
Shoeboxed - ideal for individuals and businesses looking to simplify their warranty process, reimbursements, refunds, and track tax deductions.
Shoeboxed makes managing receipts easy by automating receipt collection, organizing them for you, and helping you track your app expenses.
Here’s how Shoeboxed can manage your receipts:
Turns physical receipts into digital data

Shoeboxed automates receipt collection with their mobile app. Users scan the receipt using their smartphone's camera. The app then uploads the digital transaction data to your designated Shoeboxed account.
Outsource expense management to Shoeboxed

You can also outsource the scanning to Shoeboxed, which offers a physical document scanning service for users with many paper receipts or those who don't want or have time to scan their own receipts.
Just mail your receipts and documents in their prepaid postage-free Magic Envelope, and Shoeboxed's team will scan, human-verify, and upload them to your account.
Shoeboxed is the only receipt scanner app that will handle both your paper receipts and your digital receipts—saving customers up to 9.2 hours per week from manual data entry!
Stop doing manual data entry 🛑
Outsource receipt scanning to Shoeboxed’s scanning service and free up your time for good. Try free for 30 days!✨
Get Started TodayForward e-receipts from your inbox directly to your Shoeboxed account
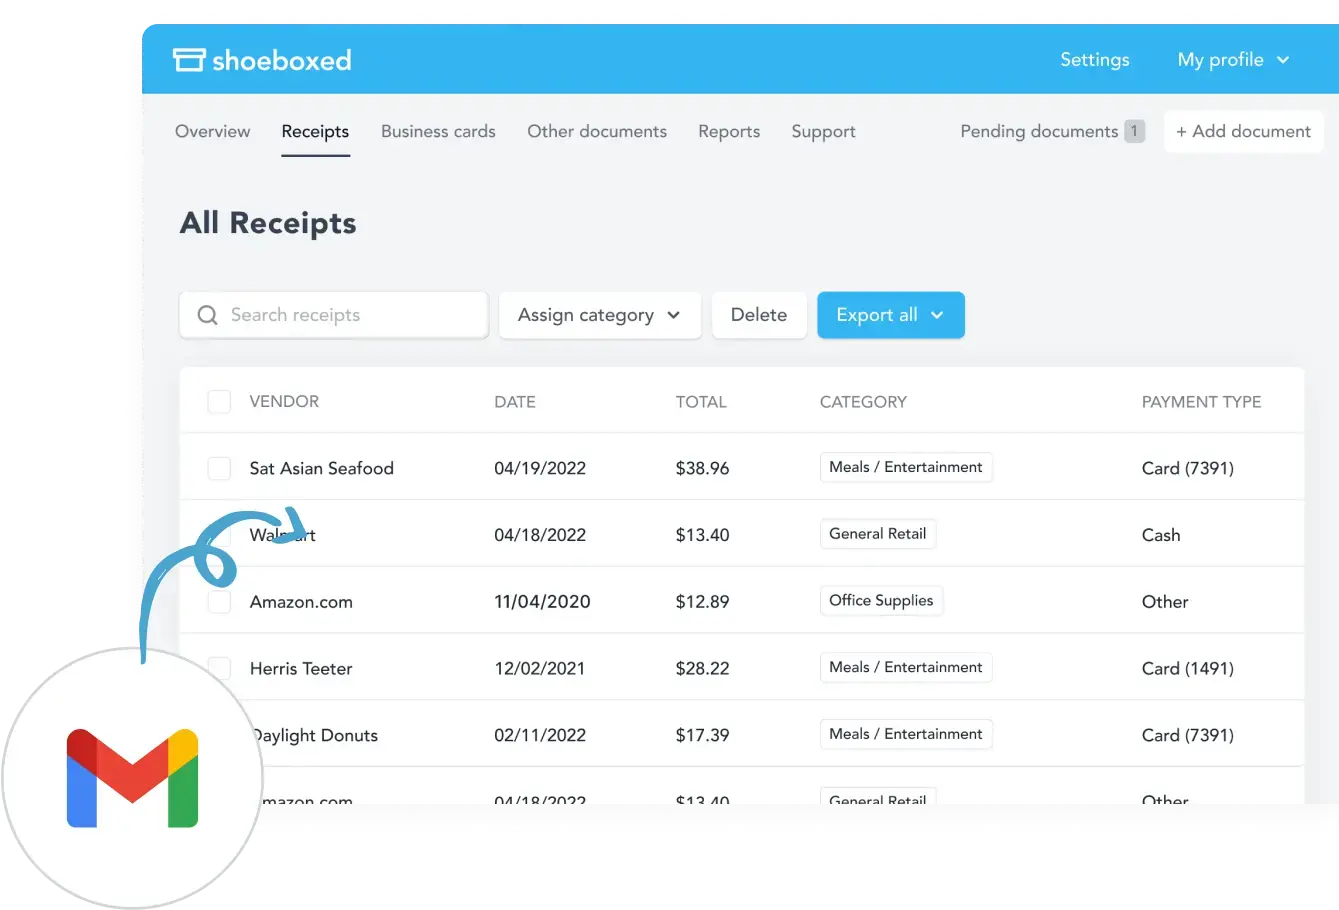
Shoeboxed lets you forward app receipts that are emailed to you. The platform will automatically search for receipts in your inbox and forward them to your Shoeboxed account with their Gmail plugin, so you don’t have to enter them manually.
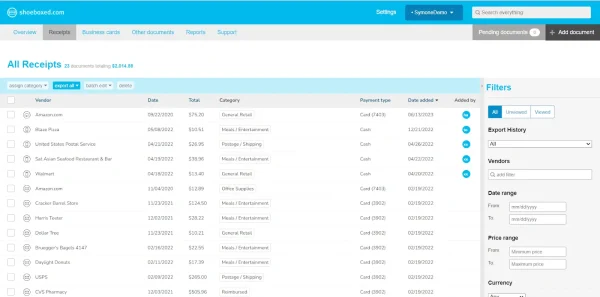
Stores receipts so that they are easily searchable

All your app receipts are stored in Shoeboxed’s cloud-based system, so they can be searched anytime, anywhere. Receipts are stored by categories so you can easily find any receipt, whether for apps, in-app purchases, or subscriptions.
Automatically organizes and categorizes expenses
With OCR technology, Shoeboxed categorizes store receipts automatically into 15 tax or custom categories. This helps you track your spending and organize expenses for personal or tax purposes.
Generates detailed expense reports
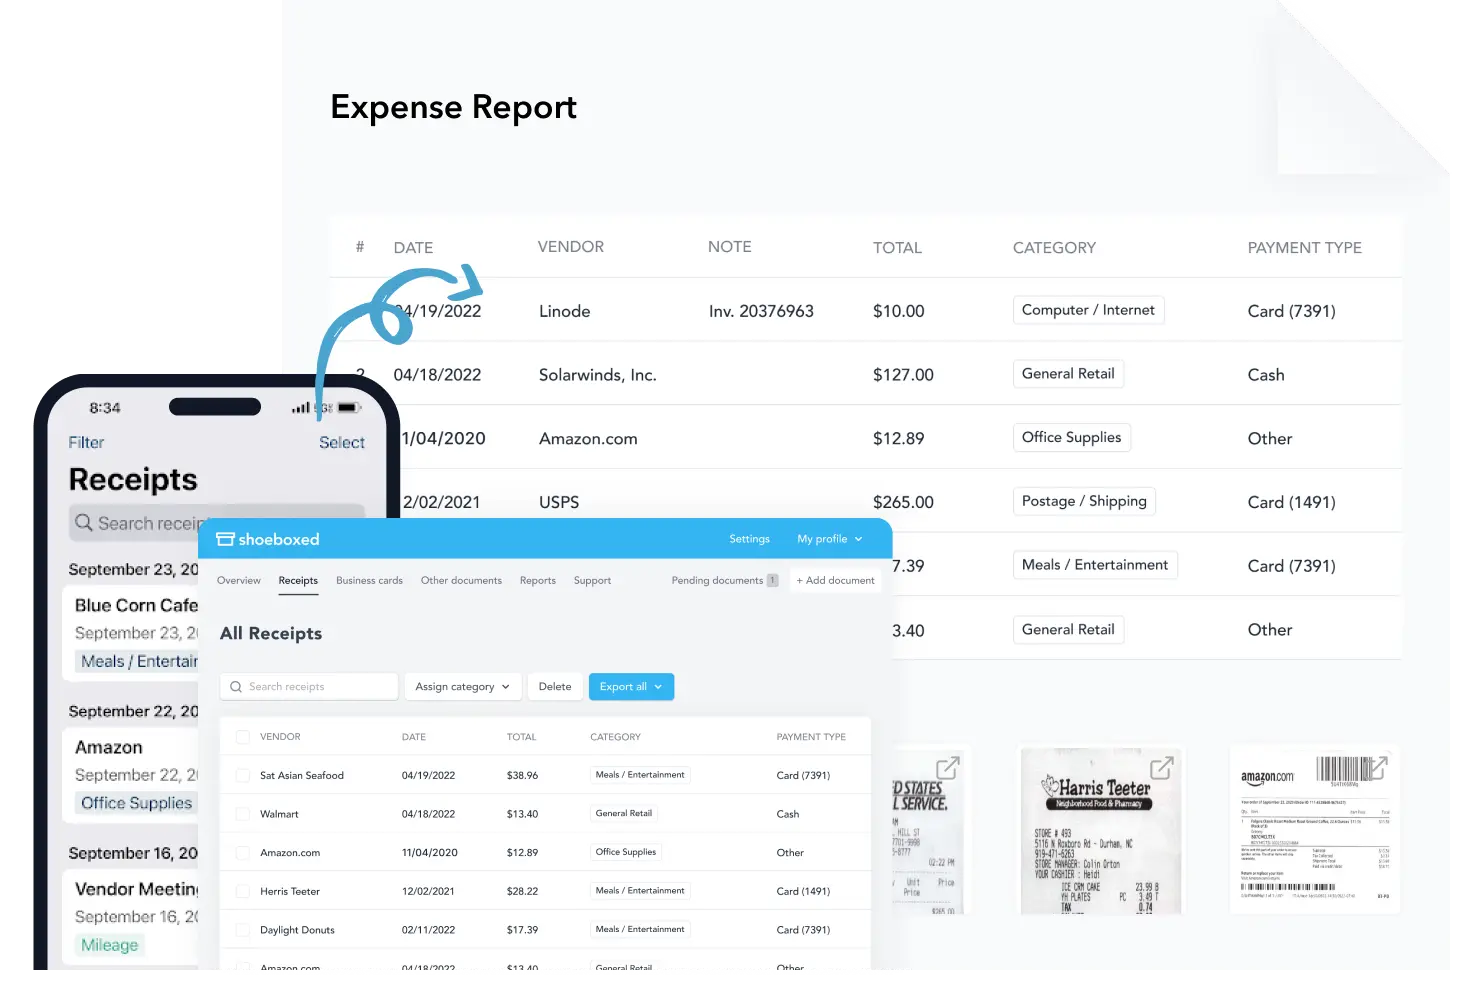
Shoeboxed also generates detailed expense reports you can create, export, and share. These reports are perfect for business owners, freelancers, or anyone who needs to track app expenses for financial planning or tax deductions.
Turn receipts into data for tax time ✨
Try Shoeboxed’s systematic award-winning approach to receipt tracking for tax season. Try free for 30 days!
Get Started TodayUsing receipts for returns and refunds
If you need your receipt to return or request a refund for an App Store purchase, follow these steps:
1. Sign in to your Apple ID account.
2. Visit the Purchase History section.
3. Find the receipt for the item you want to return or refund.
4. Click “View Invoice” to see the receipt details.
You can then print or save the receipt and follow Apple’s instructions to return the item or request a refund. That way, you’ll have all the info to back up your return or refund request.
Receipt troubleshooting
Are you having trouble finding or accessing your App Store receipts?
Try these steps to resolve the issue.
1. Make sure you’re signed in to the correct Apple ID account.
2. If you have multiple Apple IDs, try signing in with each one to see if the receipt is associated with a different account.
3. Check your email spam folder or junk mail to see if the receipt was filtered out of your inbox.
4. If that doesn’t work, contact Apple Support and they can help you find your receipts and check your account settings.
Other receipt issues:
Can’t find a receipt: If you can’t find one in your email or purchase history, ensure you’re signed in with the correct Apple ID. You can also contact Apple Support to retrieve old receipts.
Unexpected charges: If you see charges you don’t recognize, go to the Subscriptions tab in your Apple ID settings to check for recurring charges. If necessary, contact Apple to resolve the issue.
Cancel a subscription: If you purchased a subscription you no longer want, go to your Subscriptions page in your Apple ID settings and cancel the service from there.
Being proactive with your receipt management will help you avoid billing issues and keep your app purchases in check.
Frequently asked questions
Where do I find my App Store receipt?
Enter your Apple ID and password, and go to Purchase History in the App Store app. After each purchase, you can also check your email for the receipt.
How do I cancel a subscription?
Go to your Apple ID, click Subscriptions, select the subscription you want to cancel, and manage or terminate the service.
In conclusion
Managing your App Store receipts is critical to organizing your digital purchases, tracking your subscriptions, and maintaining accurate financial records for personal or business use. Organizing your receipts using tools like Shoeboxed will save you time, avoid confusion, and ensure you’re always on top of your expenses.
Check out the App Store guidelines for additional information on managing your receipts.
Caryl Ramsey has years of experience assisting in bookkeeping, taxes, and customer service. She uses various accounting software to set up client information, reconcile accounts, code expenses, run financial reports, and prepare tax returns. She is also experienced in setting up corporations with the State Corporation Commission and the IRS.
About Shoeboxed!
Shoeboxed is a receipt scanning service with receipt management software that supports multiple receipt capture methods: send, scan, upload, forward, and more!
You can stuff your receipts into one of our Magic Envelopes (prepaid postage within the US). Use our receipt tracker + receipt scanner app (iPhone, iPad, and Android) to snap a picture while on the go. Auto-import receipts from Gmail. Or forward a receipt to your designated Shoeboxed email address.
Turn your receipts into data and deductibles with our expense reports, including IRS-accepted receipt images.
Join over 1 million businesses scanning & organizing receipts, creating expense reports, and more—with Shoeboxed.
Try Shoeboxed today!
